
Understanding Soil Moisture Sensors
Learning how to install a soil moisture sensor for better watering is a game-changer for any gardener. Soil moisture sensors are important devices in smart living and gardening as they measure the moisture levels in the soil, enabling gardeners to optimize their watering practices. By providing real-time data, these sensors help ensure that plants receive the appropriate amount of water, which is crucial for their growth and overall health. Often, these sensors serve as the primary data source for a comprehensive smart irrigation system.
Technically, these devices measure the Volumetric Water Content (VWC) or soil tension, providing a scientific window into the “root zone” that the naked eye cannot see. For instance, while the surface soil might look dry under the summer sun, a sensor placed six inches deep might reveal that the root ball is still at field capacity—the point where the soil holds the maximum amount of water available to plants after excess has drained away. Understanding this distinction prevents the common mistake of surface-level overwatering.
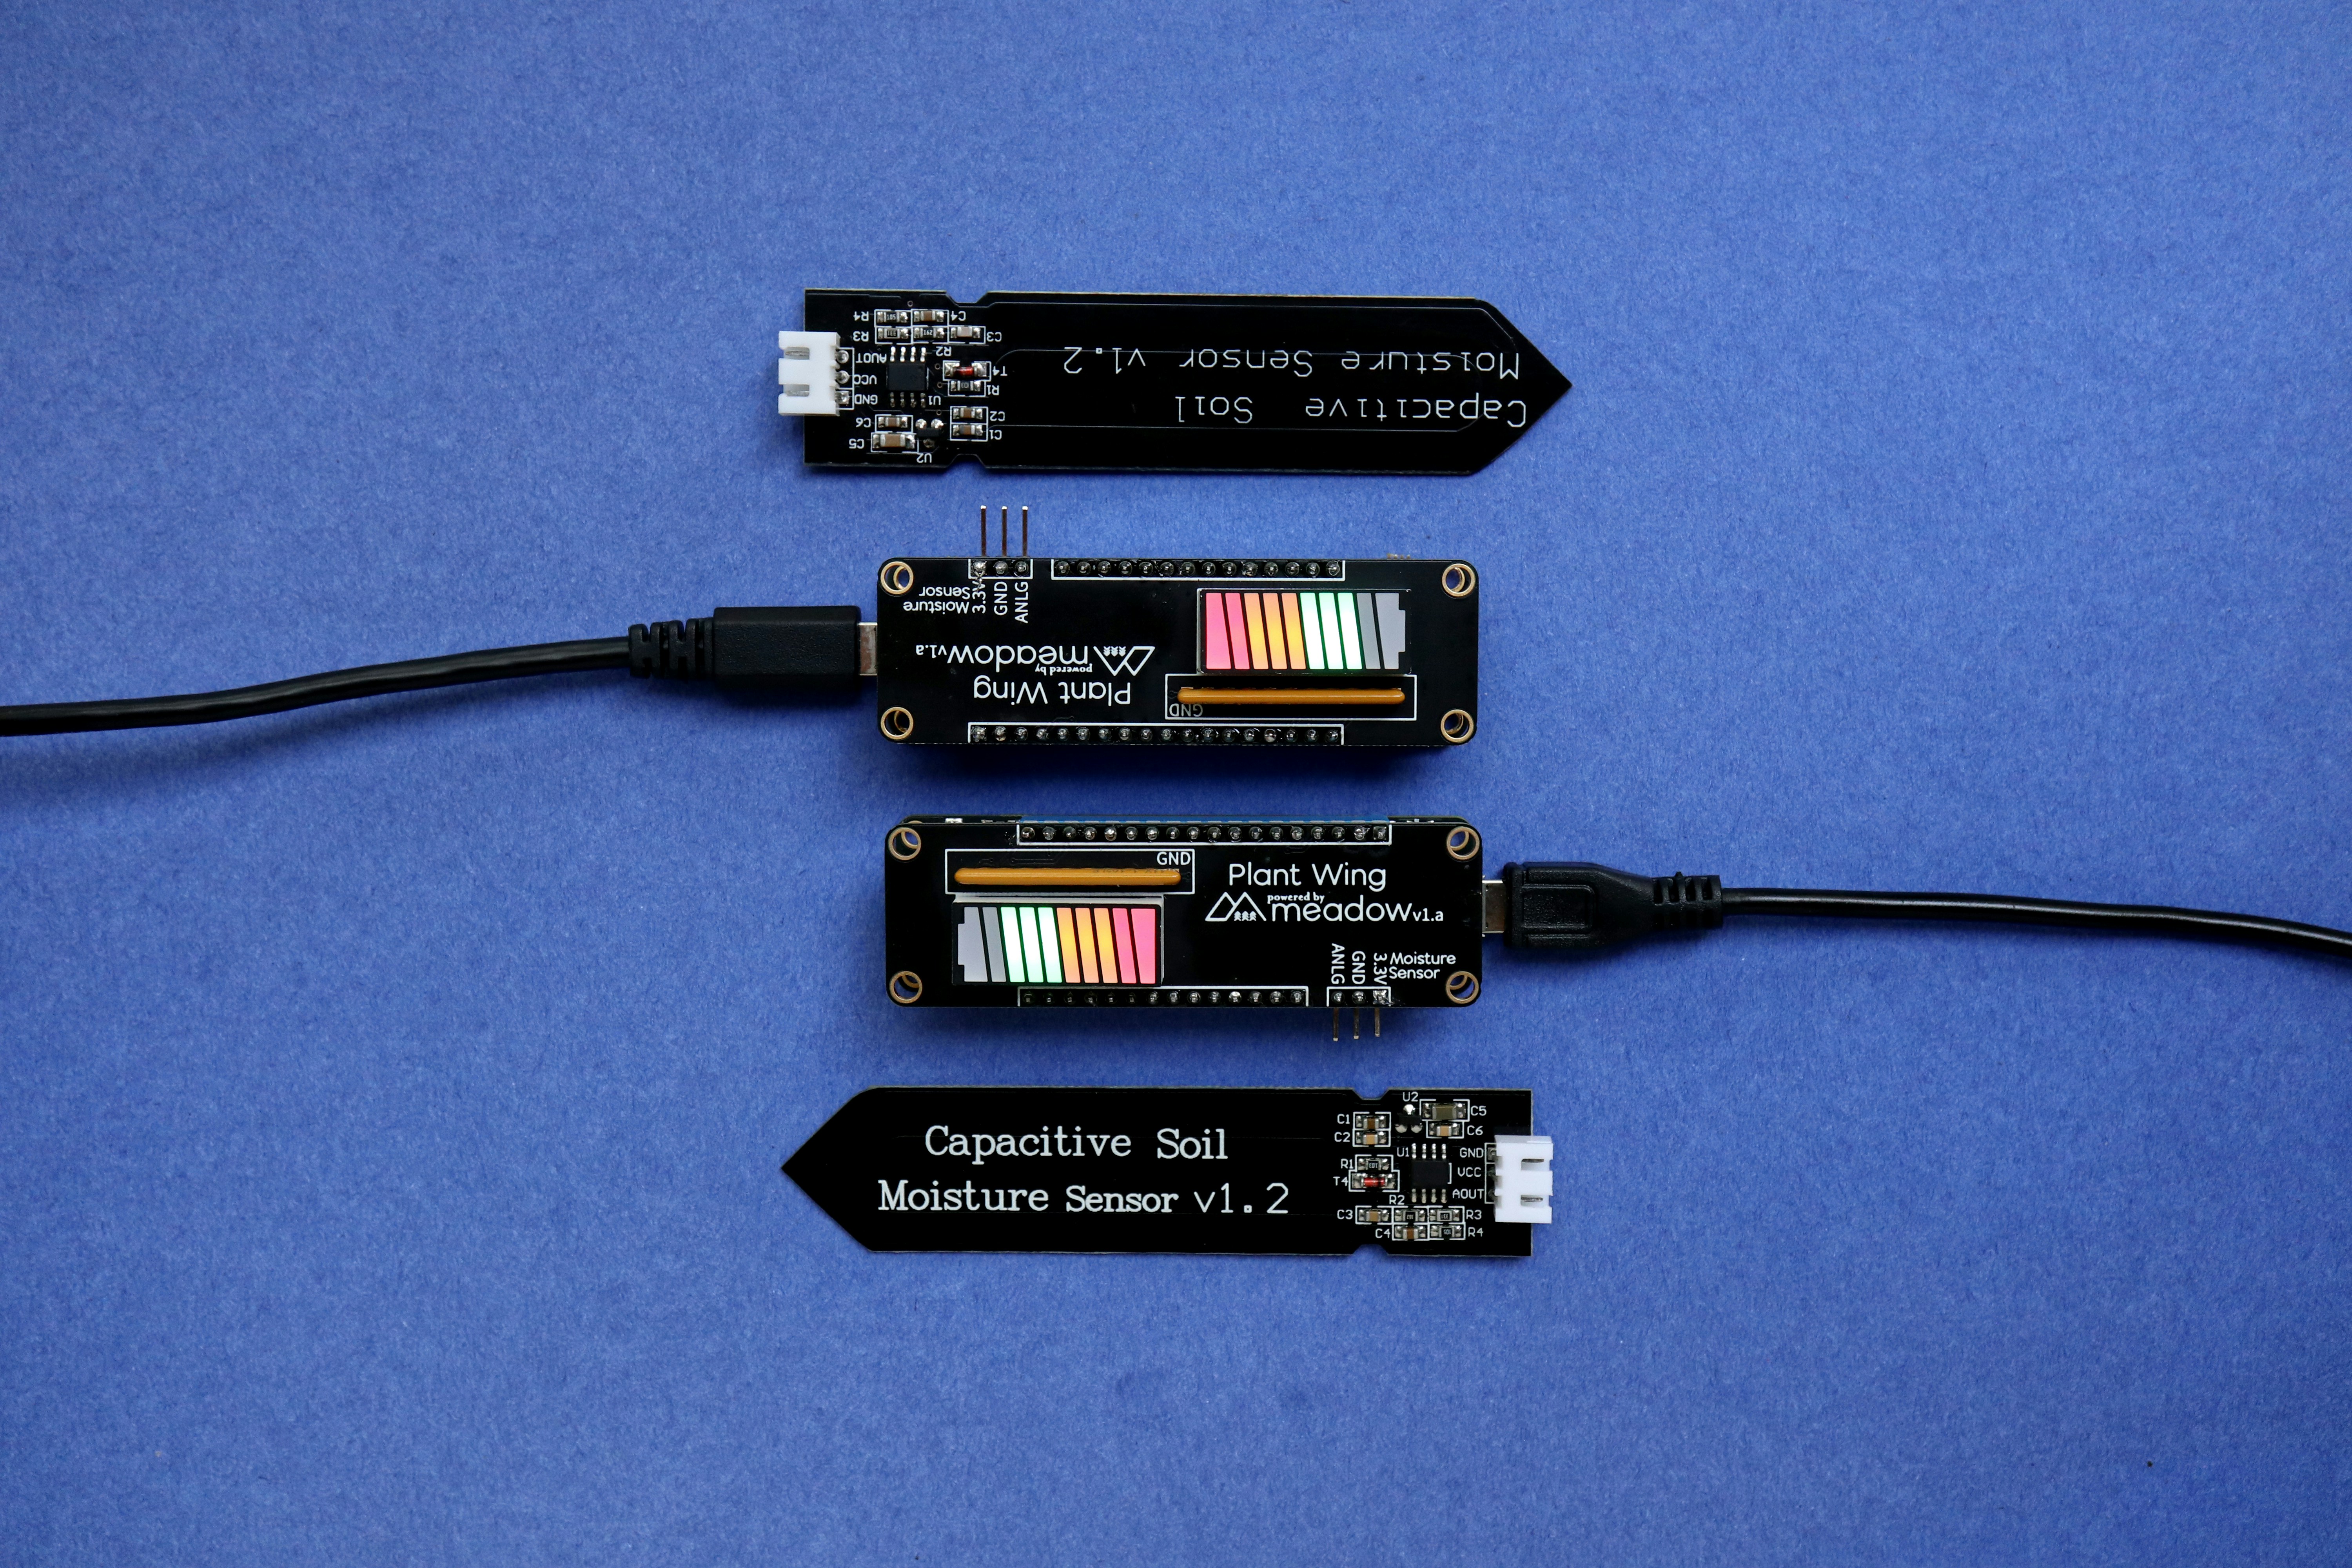
There are primarily two types of soil moisture sensors used in home gardens: capacitive sensors and resistive sensors. Capacitive sensors function by measuring the dielectric constant of the soil, which changes with the moisture content. This technology offers several advantages, including less susceptibility to corrosion and improved longevity, making them a preferred choice for many gardeners. On the other hand, resistive sensors measure the electrical resistance in the soil. As moisture levels increase, the resistance decreases, allowing the sensor to determine the soil’s hydration level. While these sensors are typically less expensive, they can be subject to corrosion over time, which may affect their accuracy.
Expert horticulturists often recommend capacitive sensors for permanent installations because they do not have exposed metal electrodes that react with soil minerals. A practical example of this is seen in high-salinity soils or gardens using heavy liquid fertilizers; in these environments, a resistive sensor may provide “false wet” readings due to increased conductivity from salts rather than actual water. By selecting a sensor that utilizes Frequency Domain Reflectometry (FDR), gardeners can achieve professional-grade precision even in complex soil profiles.
The use of soil moisture sensors not only aids in proper watering practices but also promotes water conservation. Overwatering can lead to various issues, including root rot and nutrient leaching, which adversely affect plant health. By integrating garden sensors into your home garden, you can prevent these problems, save water, and enhance the overall efficiency of your gardening efforts. Additionally, with garden automation systems that connect to these sensors, you can set precise watering schedules, ensuring that your plants receive the perfect balance of moisture regardless of weather conditions.
Choosing the Right Soil Moisture Sensor
When embarking on the journey of establishing a well-maintained home garden, the selection of a suitable soil moisture sensor is crucial for effective garden automation. A variety of factors should guide your choice to ensure that the sensor meets your specific gardening needs.
One of the primary considerations is sensor depth, which determines how deeply it can measure moisture within the soil. This is particularly important for plants with extensive root systems that require precise moisture readings at varying depths. A sensor capable of measuring moisture levels from two to six inches deep is often ideal for most home gardens. For deeper-rooted perennials or fruit trees, you may need a multi-depth probe to monitor the active root zone effectively, ensuring water reaches the lower strata where it is most needed.
Accuracy is another key factor. Higher accuracy sensors provide more reliable readings, helping to avoid overwatering or underweighting your plants. Professional-grade sensors typically offer greater precision and can help monitor specific moisture thresholds, which is invaluable for ensuring optimal growth in your garden. When evaluating accuracy, consider the sensor’s resolution; a device that can detect 1% changes in VWC is far superior for delicate species like orchids or ferns compared to a basic “wet/dry” meter.
Durability should also play a vital role in your decision-making process. Look for sensors that can withstand different soil environments and weather conditions. Water and weather-resistant materials will enhance the longevity of the sensor in your home garden, particularly in regions with fluctuating climates. Expert gardeners suggest looking for IP67 or IP68 rated enclosures for wireless transmitters to prevent moisture ingress during heavy storms or irrigation cycles.
Compatibility with various soil types is essential, as different soils retain moisture differently. Ensure that the sensor you choose is versatile enough to work effectively in clay, sandy, or loamy soils. For example, in heavy clay soil, water tends to “channel” along the sensor probe, which can lead to inaccurate readings if the sensor isn’t properly calibrated to the soil’s specific bulk density. Some popular brands like Xiaomi and Bluelab offer reliable options, each with distinctive features and drawbacks. For instance, while Xiaomi sensors are often valued for their smart living integration, ease of use, and affordability, they may lack in-depth accuracy when compared to high-end models from Bluelab, which provide detailed moisture analytics and temperature compensation to account for soil heat fluctuations.
In conclusion, by considering sensor depth, accuracy, durability, and soil compatibility, you can select a soil moisture sensor that promotes effective watering in your home garden, thereby maximizing the advantages of modern gardening techniques.
Installation Steps for Soil Moisture Sensors
When it comes to optimizing the health of your home garden through smart living practices, installing soil moisture sensors is a pivotal step. These devices not only aid in monitoring soil conditions but also facilitate better watering practices, contributing to effective garden automation. Below is a concise guide detailing the necessary steps for a successful installation, including tools required, cautious preparations, and specific instructions based on the type of sensor chosen.
First, gather the following essential tools: a soil moisture sensor, a trowel or shovel, a garden stake (if necessary), a drill and screws (for wired sensors), and a smartphone or computer for monitoring connectivity. Before starting the installation, ensure that the garden area is free from debris and any potential obstacles that could hinder the sensor’s effectiveness. Expert installers recommend a “slurry method” for the best results: mix a small amount of soil with water to create a paste, which ensures seamless sensor-to-soil contact and eliminates air pockets that cause erratic data spikes.
Once the area is prepped, the next phase involves determining the optimal depth for sensor placement. Generally, soil moisture sensors should be installed at a depth of 4 to 10 inches, varying with the type of plants in your garden. For shallow-rooted plants, a lesser depth is preferable. In contrast, deep-rooted plants may require sensors buried deeper to capture the moisture levels accurately. Carefully use your trowel to create a hole at this depth, ensuring that the sensor’s readings will not be affected by surface water or excessive moisture. A critical insight for raised bed gardening is to place the sensor at the mid-root zone to avoid the rapid drainage common in artificial soil mixes.
If you are installing a wired soil moisture sensor, gently connect it to your monitoring device as per the device instructions provided. For wireless sensors, follow the pairing instructions to connect smart irrigation controllers to WiFi or your home network to sync the device with your smartphone application or computer. It is crucial to position the sensor horizontally in the soil and ensure it remains stable. Horizontal placement prevents water from “tracking” down the vertical length of the probe, which can lead to artificially high moisture readings. Once everything is in place, it is wise to perform a calibration cycle by saturating the area and observing the sensor as it returns to its baseline reading, allowing you to maximize the benefits of your gardening efforts.
Safety & Security Notice
Electrical Safety: When installing wired sensors or gateways outdoors, always use GFCI (Ground Fault Circuit Interrupter) protected outlets. Ensure all wiring is rated for direct burial or protected by UV-resistant conduit to prevent degradation and short circuits. For smart living systems, keep power supplies in NEMA-rated weatherproof enclosures.
Network Security: To protect your smart garden ecosystem, ensure your IoT gateway is on a secured WPA3 network. Avoid using default passwords and consider placing garden automation devices on a guest VLAN to isolate them from your primary home data network.
Using Data from Soil Moisture Sensors to Optimize Watering
Soil moisture sensors have emerged as essential tools for any home garden enthusiast aiming to enhance their gardening efficiency. By providing real-time data about soil water content, these devices enable gardeners to tailor their watering frequency and duration based on precise moisture levels, thereby fostering a healthier garden environment. Understanding the data collected from these sensors is fundamental to enhancing your gardening practices.
To effectively utilize the data from your soil moisture sensors, begin by familiarizing yourself with the Management Allowed Depletion (MAD) levels for your particular plants. This concept refers to the percentage of available water that can be used by the plant before it experiences stress. Most plants thrive in specific moisture ranges, so knowing these can assist you in devising an effective watering schedule. For instance, you may find that certain plants require more frequent watering during hotter months while others may prefer to remain drier. This adaptability is a key element of smart living in the realm of gardening.
Expert Insight: The 24-Hour Settlement Rule
Horticulturists advise ignoring all data for the first 24 to 48 hours post-installation. As the soil settles and the “slurry” dries, air pockets naturally collapse. Your baseline readings will only become accurate once the sensor has achieved full hydraulic equilibrium with the surrounding soil profile.
| Soil Type | Field Capacity (VWC) | Target Irrigation Trigger (MAD) |
|---|---|---|
| Sandy Soil | 10% – 15% | 8% – 10% |
| Loamy Soil | 25% – 35% | 18% – 22% |
| Clay Soil | 35% – 45% | 28% – 32% |
A practical example of data-driven gardening is setting a lower moisture threshold. For vegetable gardens, you might set your automation system to trigger irrigation when the VWC drops below 25%, ensuring you never reach the permanent wilting point. Conversely, you can set an upper threshold to stop watering once the soil reaches field capacity, preventing anaerobic conditions that lead to root rot. Expert irrigation specialists suggest monitoring diurnal moisture cycles; if you notice moisture levels dropping rapidly during the day but stabilizing at night, your plants are actively transpiring and healthy.
Case Study: 40% Water Reduction in Tomato Crops
In a recent residential trial, a gardener in an arid climate integrated capacitive sensors with a smart controller. By watering only when the sensor hit a 22% VWC threshold, they reduced total water consumption by 40% over one season. More importantly, the precision watering eliminated blossom-end rot, which had previously plagued the crop due to erratic manual watering schedules.
Moreover, it’s advisable to adjust your watering habits according to seasonal changes. During rainy seasons, for instance, you can significantly reduce your watering schedule, leveraging the natural moisture provided by rain. Many smart controllers now offer predictive watering, which uses local weather forecasts alongside your sensor data to skip cycles if rain is imminent. This evapotranspiration (ET) data integration allows for a truly autonomous system that accounts for both soil status and atmospheric demand. Conversely, during dry spells, the data from your sensors will guide you in determining when and how much to water. This not only conserves water but also helps in preventing overwatering, which can lead to root rot—a common issue in both home gardens and larger landscaping endeavors.
In troubleshooting common issues, ensure that your sensors are correctly positioned within the soil and are functioning properly. If you observe a “flatline” reading despite recent rain or irrigation, it may indicate a preferential flow path where water is bypassing the sensor entirely due to soil cracking or poor backfilling. Calibration may be necessary to align with the specific moisture needs of your plants. Ultimately, integrating soil moisture data into your gardening routine promotes better plant growth and optimal resource management, echoing the principles of garden automation and smart living.
Troubleshooting & Maintenance
Maintaining the integrity of your garden sensors is essential for long-term precision irrigation. Over time, sensors can encounter biofouling or mineral buildup, particularly in hard water areas. Expert maintenance involves an annual inspection to check for soil subsidence, which can pull the sensor away from the root zone and create air gaps. If you notice erratic data, perform a zero-point calibration in dry sand or a saturation test in a bucket of water to verify the sensor’s range and responsiveness.
Common troubleshooting scenarios often involve signal attenuation in wireless systems. For example, as your garden canopy grows, dense foliage can block Zigbee or LoRaWAN signals between the sensor and the gateway. In these cases, elevating the transmitter or adding a signal repeater is a practical fix. Additionally, for resistive sensors, check for galvanic corrosion on the probes; if the metal appears pitted or discolored, it is likely time for a replacement. By following a consistent maintenance schedule, you ensure that your smart gardening ecosystem remains a reliable asset for years to come.
Frequently Asked Questions
How many sensors do I need for my garden?
For a standard home garden, one sensor per hydrozone (areas with plants having similar water needs) is recommended. For instance, your vegetable patch and your lawn should have separate sensors because their rooting depths and transpiration rates differ significantly.
Can soil sensors work in pots and containers?
Yes, but you must account for the edge effect. In containers, soil dries from the outside in. Expert horticulturists suggest placing the sensor midway between the plant stem and the pot wall to get a representative reading of the available water capacity.
Do I need to remove sensors during winter?
If you live in a region with deep ground freezes, it is best to remove them to prevent heaving damage. However, many high-end capacitive sensors are designed to withstand soil frost. Always check the manufacturer’s operating temperature range to avoid damaging the internal electronics.
Why is my sensor reading 100% moisture all the time?
This often indicates waterlogging or a sensor that has been installed in a “sump” area where water pools. Ensure proper drainage around the sensor site to maintain accuracy and plant health.